Have you ever thought about sketching out one of those devices we all carry around, like your mobile, your cell, or maybe your smartphone? It’s a pretty common thing, isn’t it, that almost everyone has one of these in their pocket or hand? This little guide is here to show you how you can put one of these everyday items onto paper, using some easy steps and examples that are, you know, just simple to follow. We're talking about getting a really good looking phone picture down, and it's something that just about anyone can try, no matter if you're just starting out or if you've been doing art for a while, so it’s pretty cool.
Actually, making a picture of a phone, especially one that looks pretty accurate, can be a rather enjoyable and quite satisfying activity. It’s not as tricky as you might think, as a matter of fact, and with some clear directions and a few pointers, you could be sketching out a perfect phone image in no time at all. This guide, for instance, breaks it down into a few simple stages, focusing on how to get that front view just right, which is, you know, typically what people see most often. It’s all about taking it one step at a time, making it very accessible for everyone who wants to give it a go.
So, if you’re looking for a simple way to get into drawing, or perhaps just want to practice sketching something that’s easy to recognize, a phone picture could be a really good place to start. We’ll go through the process together, almost like we’re sitting side by side with paper and pencil in hand, making sure every stage is clear. You’ll find that by following these simple ideas, you too can get a really neat phone drawing, and it’s actually a method that we’ve made super straightforward and easy for anyone to pick up, so that’s a plus.
Table of Contents
- How Do You Start Your Phone Drawing?
- Getting the Basic Shape for Your Phone Drawing
- What About the Screen in Your Phone Drawing?
- Adding Those Small Bits to Your Phone Drawing
- Can Anyone Do a Good Phone Drawing?
- Making Your Phone Drawing Look More Real
- Exploring Different Phone Drawing Looks
- A Final Look at Phone Drawing
How Do You Start Your Phone Drawing?
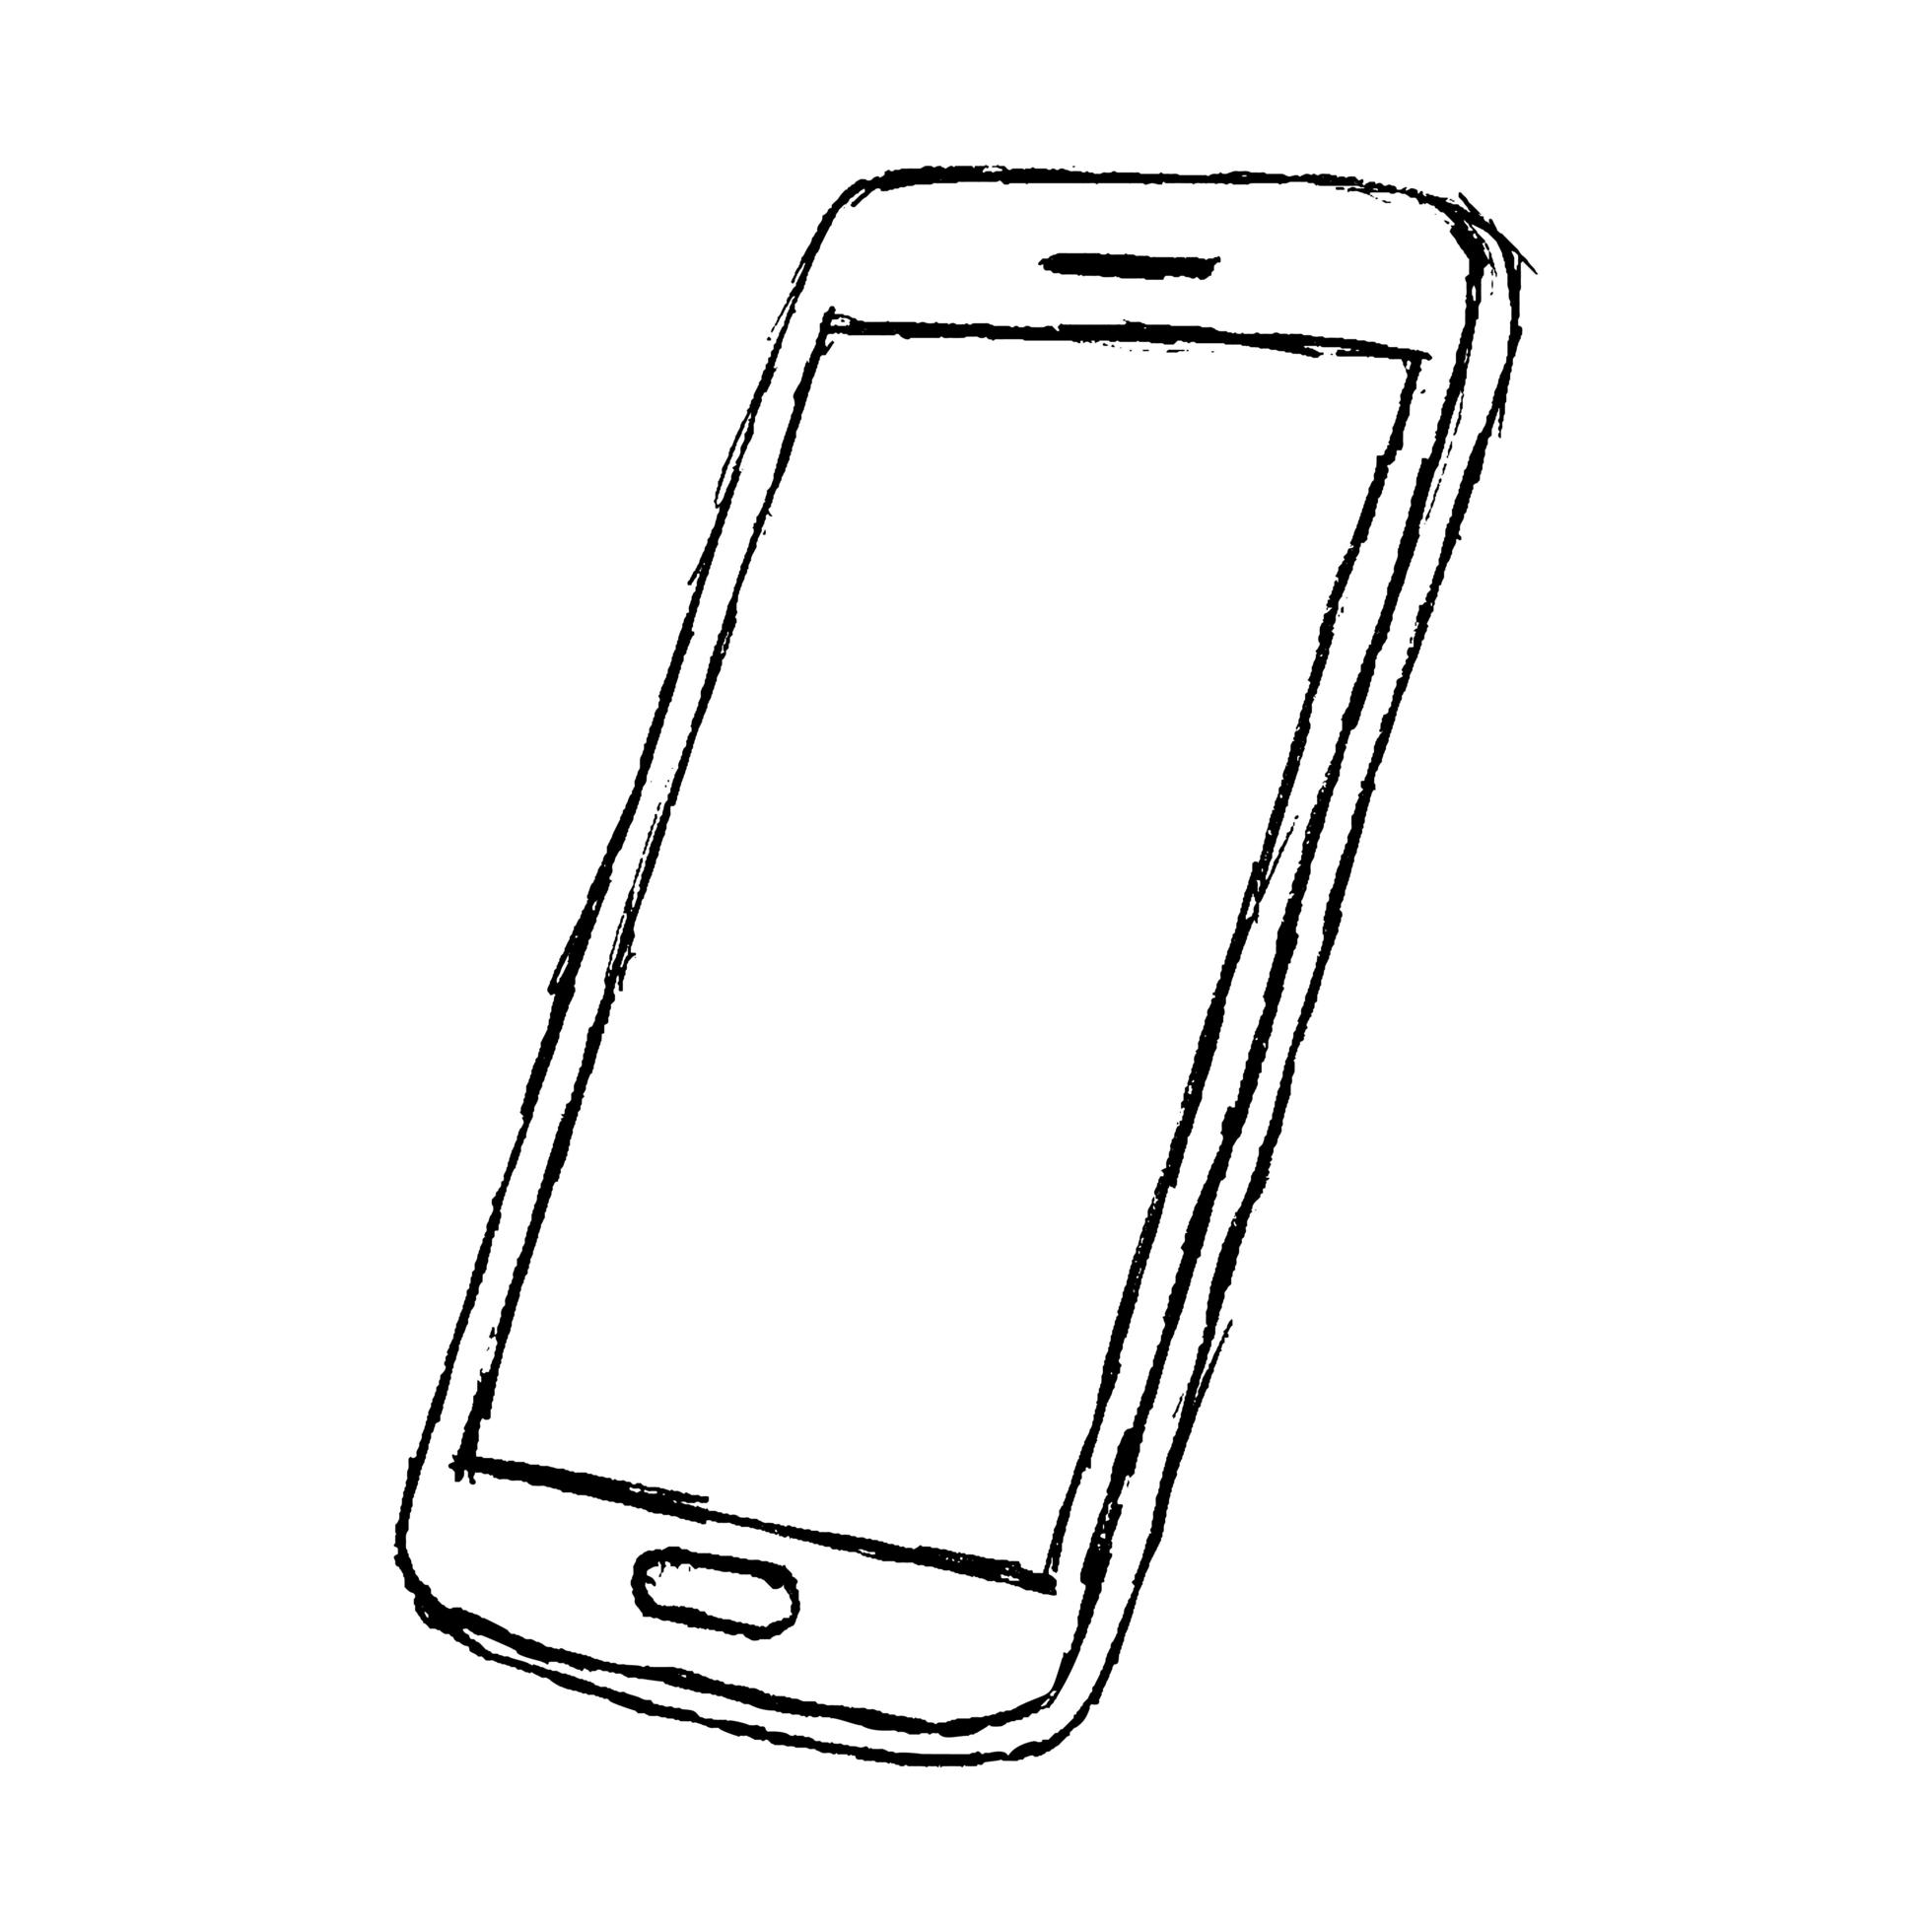
When you're ready to begin your phone drawing, the very first thing you'll want to do is grab a piece of paper and, well, a pencil. It’s pretty simple, really, and it sets the stage for everything else you'll do. The goal here is to get that initial overall form of the phone down on your paper. Think about the general outline of the device; it's usually a pretty big rectangle, isn't it? You'll want to use some straight lines for this part, just to make sure your phone drawing has a good, solid foundation. This is where you lay down the main structure, so it’s important to get it somewhat even, you know, before you add any of the smaller details.
So, typically, you'll want to draw one big rectangle first. This is like the outer edge of the phone itself. You're not worrying about the screen or buttons yet, just the whole body of the device. It's a bit like building the walls of a house before you put in the windows. This simple shape, you know, gives you the boundaries for your phone drawing, making sure everything else fits in correctly. It’s a pretty straightforward start, and it helps you get a feel for the size and placement of your phone on the paper, which is, honestly, a pretty big deal for how the whole thing turns out.
For some, starting with the outer shape is the easiest way to make sure the phone drawing looks proportional. You might find it helpful to make your lines light at first, just in case you want to adjust things a little bit. That way, if your first rectangle isn't quite what you had in mind, you can easily make changes without leaving too many marks. This initial step is, in a way, the most basic part, but it's also where the whole thing comes together, so it's worth taking a moment to get it right. It’s really just about getting that fundamental shape down, which is, you know, the first thing you see when you look at a phone.
Getting the Basic Shape for Your Phone Drawing
To really get the basic shape for your phone drawing, after you've got that main rectangle, you might want to think about the corners. Most modern phones, you know, don't have super sharp, pointy corners. They tend to be a little bit rounded, giving them a softer look. So, you can go back to your big rectangle and gently round off those corners just a little. This simple adjustment can make your phone drawing look much more like the real thing, which is, honestly, a pretty neat trick. It's all about observing the small details that make a big impact.
You’re basically taking that initial blocky shape and giving it a bit more character, making it, in a way, less like a box and more like a device you’d actually hold. This step is still about the outer outline of the phone, but it adds a touch of realism that makes your phone drawing appear more finished. It’s a subtle change, yet it really helps in creating that familiar feel. So, just a slight curve at each corner can make a huge difference in how your overall phone drawing comes across, which is, you know, something worth considering.
And then, sometimes, people like to think about the thickness of the phone, even if they're drawing it from the front. You can imply this by slightly offsetting another line inside your main rectangle, creating a very thin border that suggests the side of the phone. This is a bit more advanced, perhaps, but it adds depth to your phone drawing without needing to draw it in full 3D. It's just a little visual cue that helps the viewer understand the object's form, which is, honestly, pretty clever for a simple drawing. It's all about making your phone drawing feel solid and present.
What About the Screen in Your Phone Drawing?
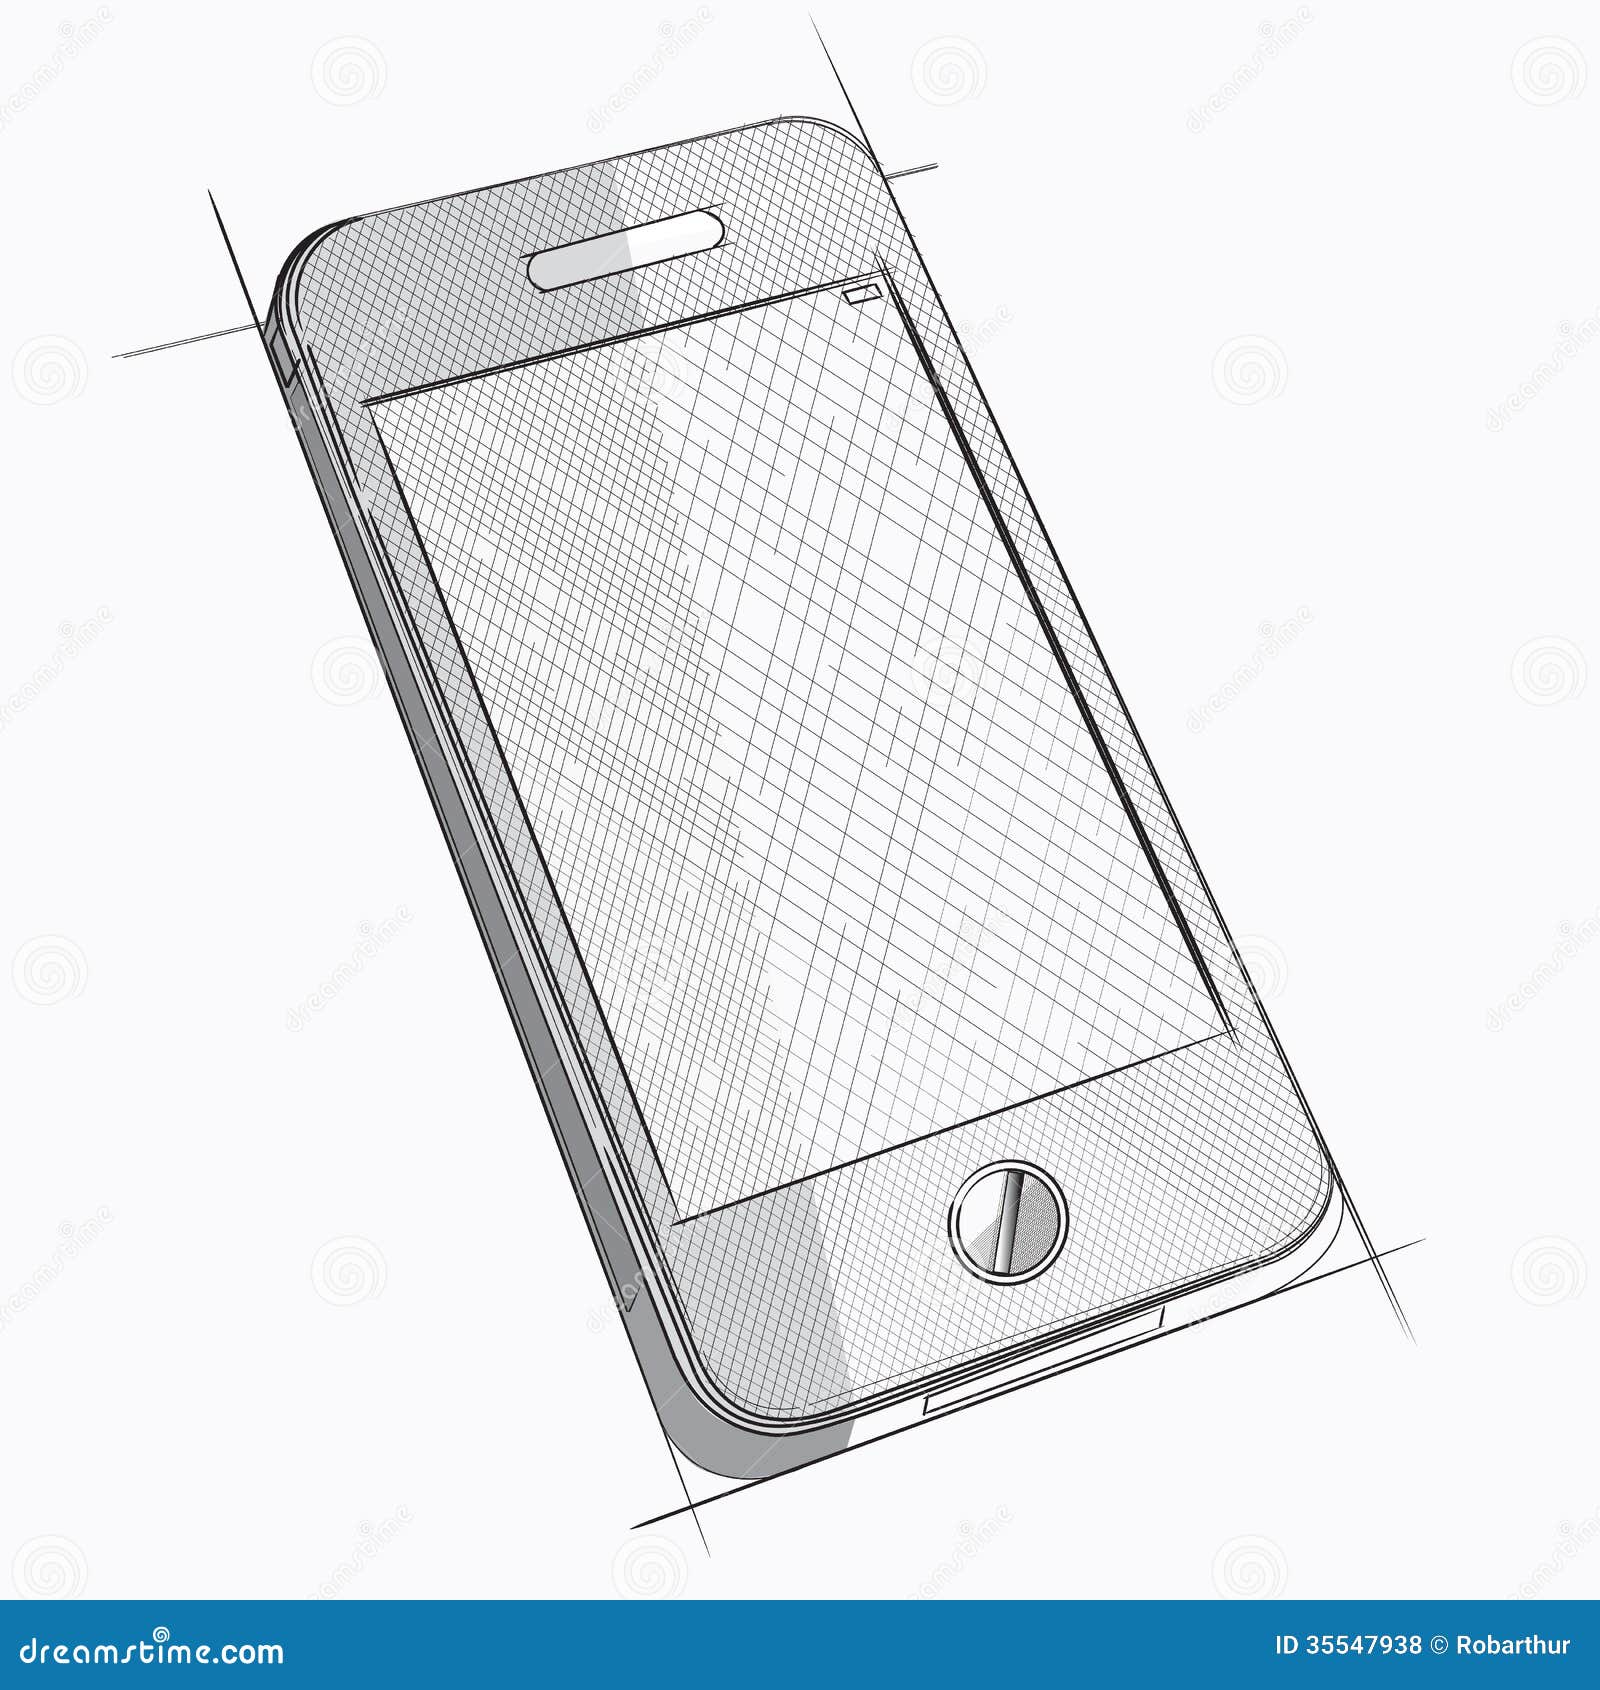
Once you have the outer form of your phone drawing looking good, the next big thing to add is the screen. This is, after all, where most of the action happens on a phone, isn't it? You'll want to draw another rectangle inside the first one, but this time, it will be a bit smaller, leaving a border all around the edges. This border represents the frame of the phone, which is, you know, usually black or a dark color on most devices. It's a pretty straightforward step, but it instantly makes your phone drawing recognizable as a mobile device.
Think about how much space you want to leave for that border. Some phones have very thin borders, while others have a bit more. It’s up to you how you want your phone drawing to look, but generally, you want it to appear balanced. This inner rectangle is the area where all the apps and pictures would be, so it’s a pretty central part of your phone drawing. Making sure it's centered within your outer shape is, in a way, pretty important for the overall look. You want it to seem like a real screen, after all.
And, you know, just like with the outer shape, you might want to consider rounding the corners of the screen rectangle too. Many phone screens have slightly curved corners, mirroring the outer shape of the phone itself. This small detail can make your phone drawing feel much more accurate and modern. It’s these little touches that really bring your phone drawing to life, making it more than just a couple of boxes. So, taking a moment to curve those screen corners is, honestly, a pretty good idea.
Adding Those Small Bits to Your Phone Drawing
After you have the main body and the screen for your phone drawing, it's time to put in those smaller, but still very important, details. These are the little things that make a phone, well, a phone. For instance, you’ll want to begin by drawing a slightly angled oval shape on the upper part of your paper, right above where the screen would be. This creates the shape for the speaker, which is, you know, that little slot where sound comes out when you're on a call. It’s a pretty key feature for any phone drawing.
Then, you might think about adding a front-facing camera. This is usually just a tiny circle, often placed near the speaker. It doesn't have to be perfect, just a little dot to suggest its presence. These small elements might seem minor, but they add a lot of authenticity to your phone drawing. They’re the things that make someone look at your picture and immediately recognize it as a phone, which is, honestly, the whole point. So, these little circles and ovals are pretty important.
What about buttons? Most phones have a few buttons on the sides, like for power or volume. You can add very thin, elongated rectangles on the sides of your phone drawing to represent these. You don't need to draw every single button, just enough to give the impression they are there. These details, you know, really help to complete the look of your phone drawing, making it feel like a fully functional device. It’s all about hinting at the features without getting too caught up in every tiny component.
Can Anyone Do a Good Phone Drawing?
It's a common question, isn't it, whether someone with little to no drawing experience can actually make a good phone drawing? The answer, honestly, is a pretty clear yes. These sorts of drawing guides are put together specifically to make it easy for just about anyone to follow along. You don't need to be a seasoned artist with years of practice; you just need to be willing to give it a try. The steps are broken down into very manageable chunks, so it's not overwhelming, which is, you know, a pretty big plus for beginners.
The idea is that by taking things one simple step at a time, you can build up your drawing piece by piece. You start with the big shapes, then add the medium ones, and finally, the small details. This method, you know, helps to build confidence because you see progress with each little thing you add. It's a rather satisfying way to learn, and it means that your phone drawing will come together without you feeling like you're trying to do too much at once. So, yes, it’s definitely something anyone can do.
And, you know, even if your first phone drawing isn't absolutely perfect, that's completely fine. The point is to practice and to enjoy the process. Every line you draw, every shape you create, helps you get better. It’s a bit like learning to ride a bike; you might wobble a little at first, but with a few tries, you get the hang of it. So, don't worry about making mistakes; just focus on having fun with your phone drawing, because that’s, honestly, what it’s all about.
Making Your Phone Drawing Look More Real
To make your phone drawing look more like a real object, you can start thinking about things like how light hits the surface. This is where you might consider adding some shading. Shading is basically just making some parts of your drawing darker than others to show where shadows would be. For example, the edges of the phone might be slightly darker, or the area around the screen might have a soft shadow, which is, you know, pretty common in real life. It gives your phone drawing a sense of depth, making it pop off the paper a little bit.
Then there's highlighting. This is the opposite of shading; it's about showing where light is reflecting off the phone. You might leave a small area on the screen or the phone's body a little bit brighter, or even add a tiny white line. This can make your phone drawing look shiny, like it has a glass screen or a smooth case. These little bright spots are, honestly, pretty powerful in making something look three-dimensional. So, a small bright line on the screen can make a huge difference.
You can also think about creating realistic details. This could mean adding a very subtle texture to the back of the phone, or perhaps showing a slight curve on the glass. These are not always obvious things, but they contribute to the overall impression of your phone drawing. It’s about paying attention to how real phones look and trying to capture some of that in your sketch. It’s a pretty fun way to add that extra touch, and it really helps your phone drawing stand out, you know, as something more than just a flat picture.
Exploring Different Phone Drawing Looks
Once you get comfortable with the basic phone drawing, you can start to play around with different types of phones. The main principles stay the same, but the specific shapes and details might shift a bit. For instance, you could try drawing a newer iPhone, which tends to have very clean lines and specific button placements. Or, you might try a Samsung Galaxy, which might have slightly different curves or camera setups. It’s all about observing what makes each phone distinct and trying to capture that in your phone drawing.
You could also experiment with different views. The guide focuses on a front view, which is, you know, the easiest place to start. But what about drawing a phone in perspective? This means making it look like it's angled away from you, so some parts appear closer and others farther away. This can be a really good exercise for beginners who want to practice drawing something that seems a little more complex but is still manageable. It’s a pretty neat way to challenge yourself and expand your phone drawing skills.
And then there are all sorts of mobile phones, cell phones, and digital phones out there, each with their own little quirks. Some might have a home button, others might not. Some might have multiple cameras on the back. You can pick and choose which features you want to include in your phone drawing, making each one unique. It’s a pretty fun way to keep your drawing practice fresh, and it means you’ll always have something new to try when it comes to phone drawing, so that’s good.
A Final Look at Phone Drawing
So, we've talked about how to get started with your phone drawing, beginning with that main rectangular shape and then adding the screen. We covered putting in those smaller, but still important, details like the speaker and camera. We also discussed how just about anyone can make a good phone drawing by following simple steps, and how adding things like shading and highlighting can make your drawing look much more lifelike. We even touched on trying out different kinds of phones and drawing them from various angles. The main idea, you know, is that making a phone drawing can be a really fun and satisfying activity for people at any skill level, and it's all about taking it one clear, easy step at a time.