Sending something special through the mail, perhaps a thoughtful card or an important letter, often means you need a neat envelope with a clear address. It feels good, doesn't it, to have everything looking just right before it goes out? Sometimes, getting those addresses onto your envelopes can feel a little bit like a puzzle, especially if you want to use your computer to do the work. You might be wondering, so, how exactly do you get your computer to help you with this task?
Many people find themselves in a similar spot, trying to figure out the best way to print addresses on envelopes, whether it's for just one letter or a whole bunch of them. Maybe you have addresses saved in different places, like in a contact list or a simple spreadsheet. The good news is that your word processing program, like Microsoft Word, is actually quite helpful here. It has tools built in that can make this process much smoother than writing each address by hand, which can be a bit tiring, you know?
We'll walk through some common ways folks try to print addresses on envelopes, looking at different versions of software and situations you might run into. We'll talk about how to get started with a single envelope, what to do if you're pulling information from your contact list, and even how to handle a bigger mailing list. It's really about making the whole thing less of a chore and more of a simple step in your mailing process. So, let's get into it, actually.
Table of Contents
- Getting Started - How to Print Addresses on Envelopes with Word
- What if I Have an Old Address to Reuse?
- Printing a Single Envelope - How to Print Addresses on Envelopes in Microsoft 365
- What Happens if "Tell Me More" is Selected?
- Using Outlook Contacts - How to Print Addresses on Envelopes from Your Address Book
- Is it Really a Mail Merge for Just One Contact?
- Customizing Envelope Sizes - How to Print Addresses on Envelopes Just Right
- What if My Envelope Size Isn't Listed?
- Printing Many Envelopes - How to Print Addresses on Envelopes from a List
Getting Started - How to Print Addresses on Envelopes with Word
When you're looking to print addresses on envelopes using a program like Microsoft Word, the first step is usually pretty straightforward. You just open up the program and start with a fresh, blank page. This gives you a clean slate to begin your work, kind of like clearing off your desk before you start a new project. It's where all the magic, so to speak, begins for getting your envelopes ready. This initial action is pretty much the same across different versions of the software, which is nice, actually, for consistency.
So, you've got Word open, and a blank document is sitting there. This is your starting point for telling the computer what you want on your envelope. You're getting ready to give it the instructions for where to put the address, and what it should look like. It's a simple beginning, but it's a necessary one before you can move on to the more specific tools that Word offers for printing addresses on envelopes. You know, you can't build a house without laying the foundation first, right?
The idea here is to make sure your software is ready to receive the information about the address you want to print. It's a bit like preparing your workspace. Once you have that blank document, you're set to find the special features within Word that are made just for envelopes. This step, while seemingly small, is quite important for a smooth process when you're trying to print addresses on envelopes. You really want to make sure you're set up correctly from the very beginning, you know?
What if I Have an Old Address to Reuse?
Sometimes, you might have a return address that you use all the time, maybe for your home or your business. It makes sense to want to use something you've already set up, doesn't it? For example, if you're using Microsoft Word 2011 for Mac, you might open up a document that has a return address you've used before. This is a smart way to save time and keep things consistent. You just pull up what you already have, which is pretty handy, you know.
When you bring that old return address into your current work, you might notice something on the screen. It's possible you'll see an image appear on the left side, right next to where your return address is. This image could be a little preview or a placeholder, showing you how things might look on the envelope. It's just a visual cue, basically, to help you see what's happening as you prepare to print addresses on envelopes. It's kind of like a quick glance to confirm everything is in its place.
The main point here is that you don't always have to start from scratch. If you have bits of information, like a return address, that you've used before and saved, you can bring them into your current project. This can make the whole process of getting your envelopes ready a little bit quicker and perhaps less of a chore. It's all about making your work flow as smoothly as possible when you're trying to print addresses on envelopes, so, using existing pieces of information can be very helpful.
Printing a Single Envelope - How to Print Addresses on Envelopes in Microsoft 365
When you're ready to print just one envelope using a newer version of Word, like the one that comes with Microsoft 365, the starting point is still the same: open Word and get a fresh, blank document going. This is your canvas, so to speak, for getting that single address just right. It's a very simple first step that sets the stage for everything else you'll do to print addresses on envelopes. You want to make sure you're beginning from a clear spot, you know?
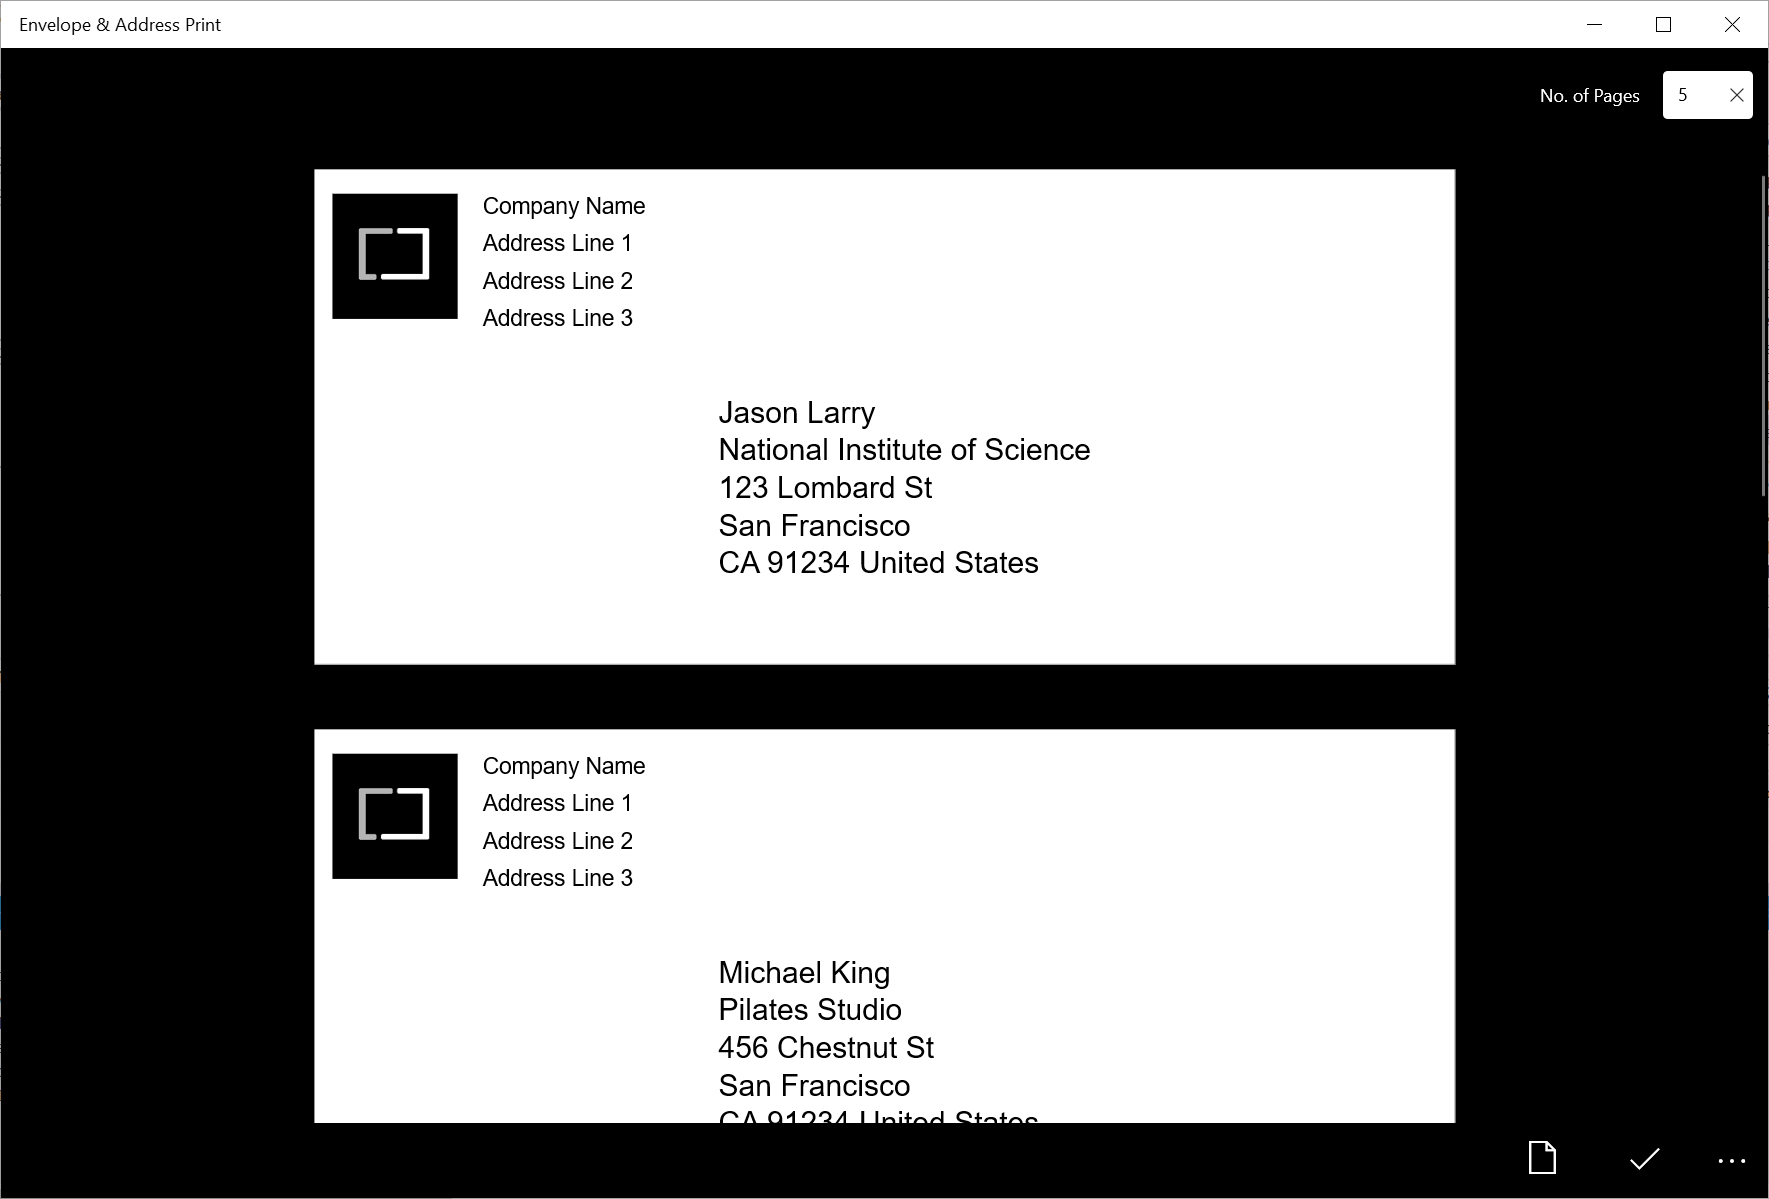
After you have your blank document open, you'll want to find a special part of Word called "Mailings." This is where the tools for envelopes and labels live. Once you click on "Mailings," you'll then look for "Envelopes." This will open up a little window where you can type in the address you want to put on your envelope. It's pretty straightforward, really, just filling in the blanks. This is how you tell Word exactly what words and numbers need to go on the front of that envelope when you print addresses on envelopes.
This method is designed for those times when you only need to send one thing. Maybe it's a birthday card to a friend or an important document to a company. You just type in the address, check that it looks good, and then you're almost ready to send it to the printer. It makes the task of printing addresses on envelopes for individual items quite manageable, which is helpful. You're basically guiding the software to create that one perfect envelope, which is kind of neat, isn't it?
What Happens if "Tell Me More" is Selected?
Sometimes, when you're using a program like Word, you might have certain settings turned on without even realizing it. For instance, if you happen to have a feature called "Tell Me More" or something similar selected within your document when you go to the "Mailings" tab and try to create an envelope, you might see something a little different. Instead of the usual envelope setup window, things might appear slightly changed. This can be a bit surprising, you know, when you expect one thing and something else pops up.
What this means is that the software is trying to be helpful by giving you more information or options based on what it thinks you're doing. If "Tell Me More" is active, it might alter the way the envelope creation dialog box looks or what options it presents. It's kind of like when you're cooking, and a recipe app gives you extra tips because it senses you're trying a new dish. It's trying to give you a bit more context, basically, for how to print addresses on envelopes.
So, if you find that the envelope setup window doesn't look quite like what you expect, take a quick peek to see if any extra features or help options are turned on. Turning them off, or simply being aware of them, can help you get back to the standard way of setting up your envelope. It's just a little quirk that can happen, and knowing about it can save you a moment of confusion when you're working to print addresses on envelopes. It's just one of those things, you know?
Using Outlook Contacts - How to Print Addresses on Envelopes from Your Address Book
Many people keep their important contacts, including mailing addresses, stored in a program like Outlook. It's a very common way to keep track of friends, family, and business connections. It makes sense, then, that you'd want to use these addresses directly when you need to print addresses on envelopes. You've already got the information organized there, so why type it all out again? It's about efficiency, really, trying to make things easier on yourself.
Now, it's pretty common that not every single contact in your Outlook address book will have a mailing address. Maybe about half of your contacts include that kind of detail. This is just a fact of how people use their contact lists; some entries are just for phone numbers or email. So, when you're thinking about printing envelopes, you'll need to keep in mind that you might not have an address for everyone on your list. It's just something to be aware of, actually, as you prepare to print addresses on envelopes.
Your main goal might be to print just one envelope, addressed to one specific person from your contacts. This seems like it should be a quick task, doesn't it? You pick the contact, and then the address should just appear on the envelope. It feels like a very simple request. This is a pretty common scenario, wanting to send something to someone you already have in your digital address book. It's about connecting your digital information with a physical item, you know, to print addresses on envelopes.
Is it Really a Mail Merge for Just One Contact?
It might seem a bit much, but it's true that if you want to print an address from your Outlook contacts onto an envelope, you generally need to go through a process called a "mail merge." Even if you only want to print one single contact's address, the software uses this larger tool to pull the information from your contact list. It's kind of like using a big truck to move just one small box; it gets the job done, but it feels like overkill, you know?
You mentioned that you only want to print one contact's address, and you find this process a bit tedious. That's a very fair point. It can feel like a lot of steps for something that seems so simple. The system is set up for sending out many items at once, so when you just need one, it feels like you're going through a lot of extra motions. It's like having to set up a whole assembly line just to make one cookie, you know? It can be a little frustrating when you're trying to print addresses on envelopes.
Once you've done the "merge," which basically means connecting your contact list to the envelope printing tool, you'll then choose to print the documents. In the window that pops up for printing, you can tell it to print all the records, or you can pick out just the specific ones you want. So, even though you might have to go through the merge process, you can still select just that one contact you need. It's a bit of a workaround, but it gets the job done when you need to print addresses on envelopes from your contacts.
Customizing Envelope Sizes - How to Print Addresses on Envelopes Just Right
When you're getting ready to print addresses on envelopes, you often need to make sure the software knows what size envelope you're using. Envelopes come in all sorts of dimensions, so it's pretty important to tell your printer what to expect. You can usually find settings that let you pick out the exact size you're working with. This helps make sure the address prints in the right spot and doesn't get cut off or look squished. It's about getting things to fit perfectly, you know?
So, you've picked the address you want to put on the envelope. Then, you go to the "Mailings" tab, choose "Create," and then "Envelope." This usually brings up a window that looks familiar, maybe one you've seen before. In this window, you should be able to find options for customizing the envelope size. This means you can tell the program whether you're using a standard business envelope or something a little different. It's a key step to getting your envelopes to look professional when you print addresses on envelopes.
Having the ability to use custom settings for envelope size is really helpful. It means you're not stuck with just a few standard options. If you have an odd-sized envelope, you can usually type in the specific measurements. This flexibility is great because it lets you print on almost any envelope you might have on hand. It's about making the tool work for you, rather than you having to work around the tool, which is pretty convenient, you know, when you're trying to print addresses on envelopes.
What if My Envelope Size Isn't Listed?
Sometimes, you might run into a situation where the exact envelope size you need isn't readily available in the dropdown menu. For instance, you might click on the "Mailings" tab, then "Envelopes," and discover that there's no option for an A7 size envelope under the "Envelope Size" dropdown. This can be a bit frustrating, you know, when you have a specific envelope and the software doesn't seem to recognize it. You just want to print addresses on envelopes that you have.
Not only might the A7 size be missing, but there might also be no option for its corresponding metric measurement. This means if you're used to working with centimeters or millimeters, those options might not be there either for that particular size. It's a bit of a snag when the program doesn't offer the exact dimensions you're looking for, making it harder to get your envelopes set up correctly. It's like trying to find a specific tool in a toolbox, and it's just not there, which can be annoying when you're trying to print addresses on envelopes.
When this happens, it often means you'll need to manually enter the dimensions of your envelope. While the dropdown might not have the exact name, there's usually a "Custom Size" option where you can type in the width and height yourself. It takes a moment more, but it allows you to print on those less common envelope sizes. It's a good workaround when the standard options don't quite fit your needs for printing addresses on envelopes. You basically become your own customizer, which is pretty cool, actually.
Printing Many Envelopes - How to Print Addresses on Envelopes from a List
There are times when you need to send out a lot of mail, perhaps for a special event or holiday greetings. Instead of typing each address individually, which would take ages, you might have all your family and friends listed on a spreadsheet. This is a very common and smart way to keep track of a large group of people. The goal then becomes how to print multiple envelopes quickly and easily using that list. It's about saving time and effort, you know, when you have a big task ahead of you.
Using a spreadsheet for your addresses is a great idea because it keeps everything organized in one place. Each person's name and address are neatly laid out in rows and columns. When you want to print addresses on envelopes for everyone on that list, the software can pull information from each row one by one. This is much more efficient than copying and pasting, or typing each address out. It's a bit like having a machine do all the repetitive work for you, which is pretty handy, you know?
The process of printing many envelopes from a spreadsheet usually involves what's called a "mail merge," similar to what we talked about for single contacts, but on a larger scale. You tell the program where your list is, and it then goes through each address, creating an envelope for every entry. This means you can set it up once and then let the printer do its job, producing all the envelopes you need. It's a great way to handle bulk mailings and makes the whole task of printing addresses on envelopes much less of a headache. You basically automate the whole thing, which is really nice, you know?
This article covered how to print addresses on envelopes, starting with opening a blank document in Microsoft Word. We looked at reusing old return addresses and the steps for printing a single envelope in Microsoft 365, including what happens if a "Tell Me More" option is active. We also discussed using addresses from Outlook contacts, noting that a mail merge is typically involved even for one contact. Finally, we touched on customizing envelope sizes and printing multiple envelopes from a spreadsheet, including situations where a specific envelope size might not be listed.
:max_bytes(150000):strip_icc()/MicrosoftWord-Print-Envelopes-087b9728393c4270b5f47374646ef3c5.jpg)