There's something quite satisfying about putting pencil to paper and bringing a familiar object to life, and for many, that object is often the trusty mobile device we carry around every single day. It’s a pretty common thing to see, isn't it? From the sleek lines of a modern gadget to the simpler shapes of older models, these handheld communicators offer a fantastic starting point for anyone looking to try their hand at sketching, whether you're just picking up a pencil for the very first time or you’ve been creating pictures for ages. You know, it’s a subject that's both familiar and surprisingly adaptable to different artistic approaches, making it a rather good choice for practice.
Learning how to sketch one of these devices, like a smartphone or a cell phone, can feel like a small victory, and it’s actually a really fun experience. You get to figure out how to make simple shapes come together to form something recognizable, and that, in some respects, is the heart of picture-making. This kind of project gives you a chance to work on basic skills, such as getting your lines straight or making your curves just right, which are pretty useful for all sorts of other things you might want to draw later on. So, it's almost like a stepping stone to more involved art projects, offering a friendly way to get started.
We're going to talk about how to make a picture of a phone, taking you through some straightforward ways to do it. You'll find out about putting down the very first marks, adding in the small parts, and even making your picture look like it has depth. This guide pulls together lots of easy to follow directions and visual examples, showing you how to put together a nice looking picture of a phone without too much fuss. It's about making the process feel approachable, giving you the tools to create a pretty good image, you know, one that you can feel good about.
Table of Contents
- Getting Started with Phone Drawing - What You Need?
- How Do You Begin Your Phone Drawing?
- What Simple Steps Help with Phone Drawing?
- Can Anyone Learn Phone Drawing?
- Exploring Different Phone Drawing Styles
- How Can You Make Your Phone Drawing Look Real?
- Your Phone Drawing Practice - What's Next?
Getting Started with Phone Drawing - What You Need?
Before you put down your first line, it’s good to have a few simple items ready. You don’t need anything fancy to get started with making pictures of phones; in fact, the fewer things you have to worry about, the better, especially when you're just beginning. Basically, the most important tools are right there in your everyday surroundings, usually a pencil and some paper. It's really about getting comfortable with what you have and just making a start, you know? There's no secret stash of items that only experienced artists get to use; everyone starts with the basics, and that’s perfectly fine for creating a nice phone drawing.
Pencil and Paper Basics for Phone Drawing
For your phone drawing, a regular pencil, maybe a number 2 or a B pencil, is a great place to begin. These pencils aren't too hard, so they make marks that are easy to erase if you need to change something, which is actually pretty helpful when you're sketching out shapes. As for paper, any plain white sheet will do. You don't need special art paper; just something that lets your pencil glide across it. A standard piece of printer paper is perfectly fine, for instance. The idea is to make it easy for yourself to just pick up and start making a picture, without feeling like you need a whole art studio. So, just grab what's handy and get ready to create your phone drawing.
Other Handy Tools for Phone Drawing
While a pencil and paper are the main things you need, a few other items can make your phone drawing experience a little smoother. An eraser is, of course, very useful for fixing any lines that go a bit astray. A ruler can be a good friend, especially when you're trying to get those straight outer lines for your phone's body, which, you know, can be a bit tricky to do freehand at first. Some people also like to have a blending stump or even just a cotton swab for smoothing out shading later on, but that’s more for when you’re adding extra touches. Really, these are just extras; the main thing is to have your drawing surface and something to make marks with, so you can focus on the actual phone drawing process.
How Do You Begin Your Phone Drawing?
Starting any picture can sometimes feel like the trickiest part, like staring at a blank page and wondering where to put the first mark. But with a phone drawing, it’s actually quite straightforward because phones are mostly made up of simple geometric forms. You don't need to worry about complex curves or unusual shapes right away. The key is to think about the phone as a collection of basic building blocks, and then put those blocks down on your paper first. This approach makes the whole process feel much less intimidating, you know, like you're just assembling something piece by piece.
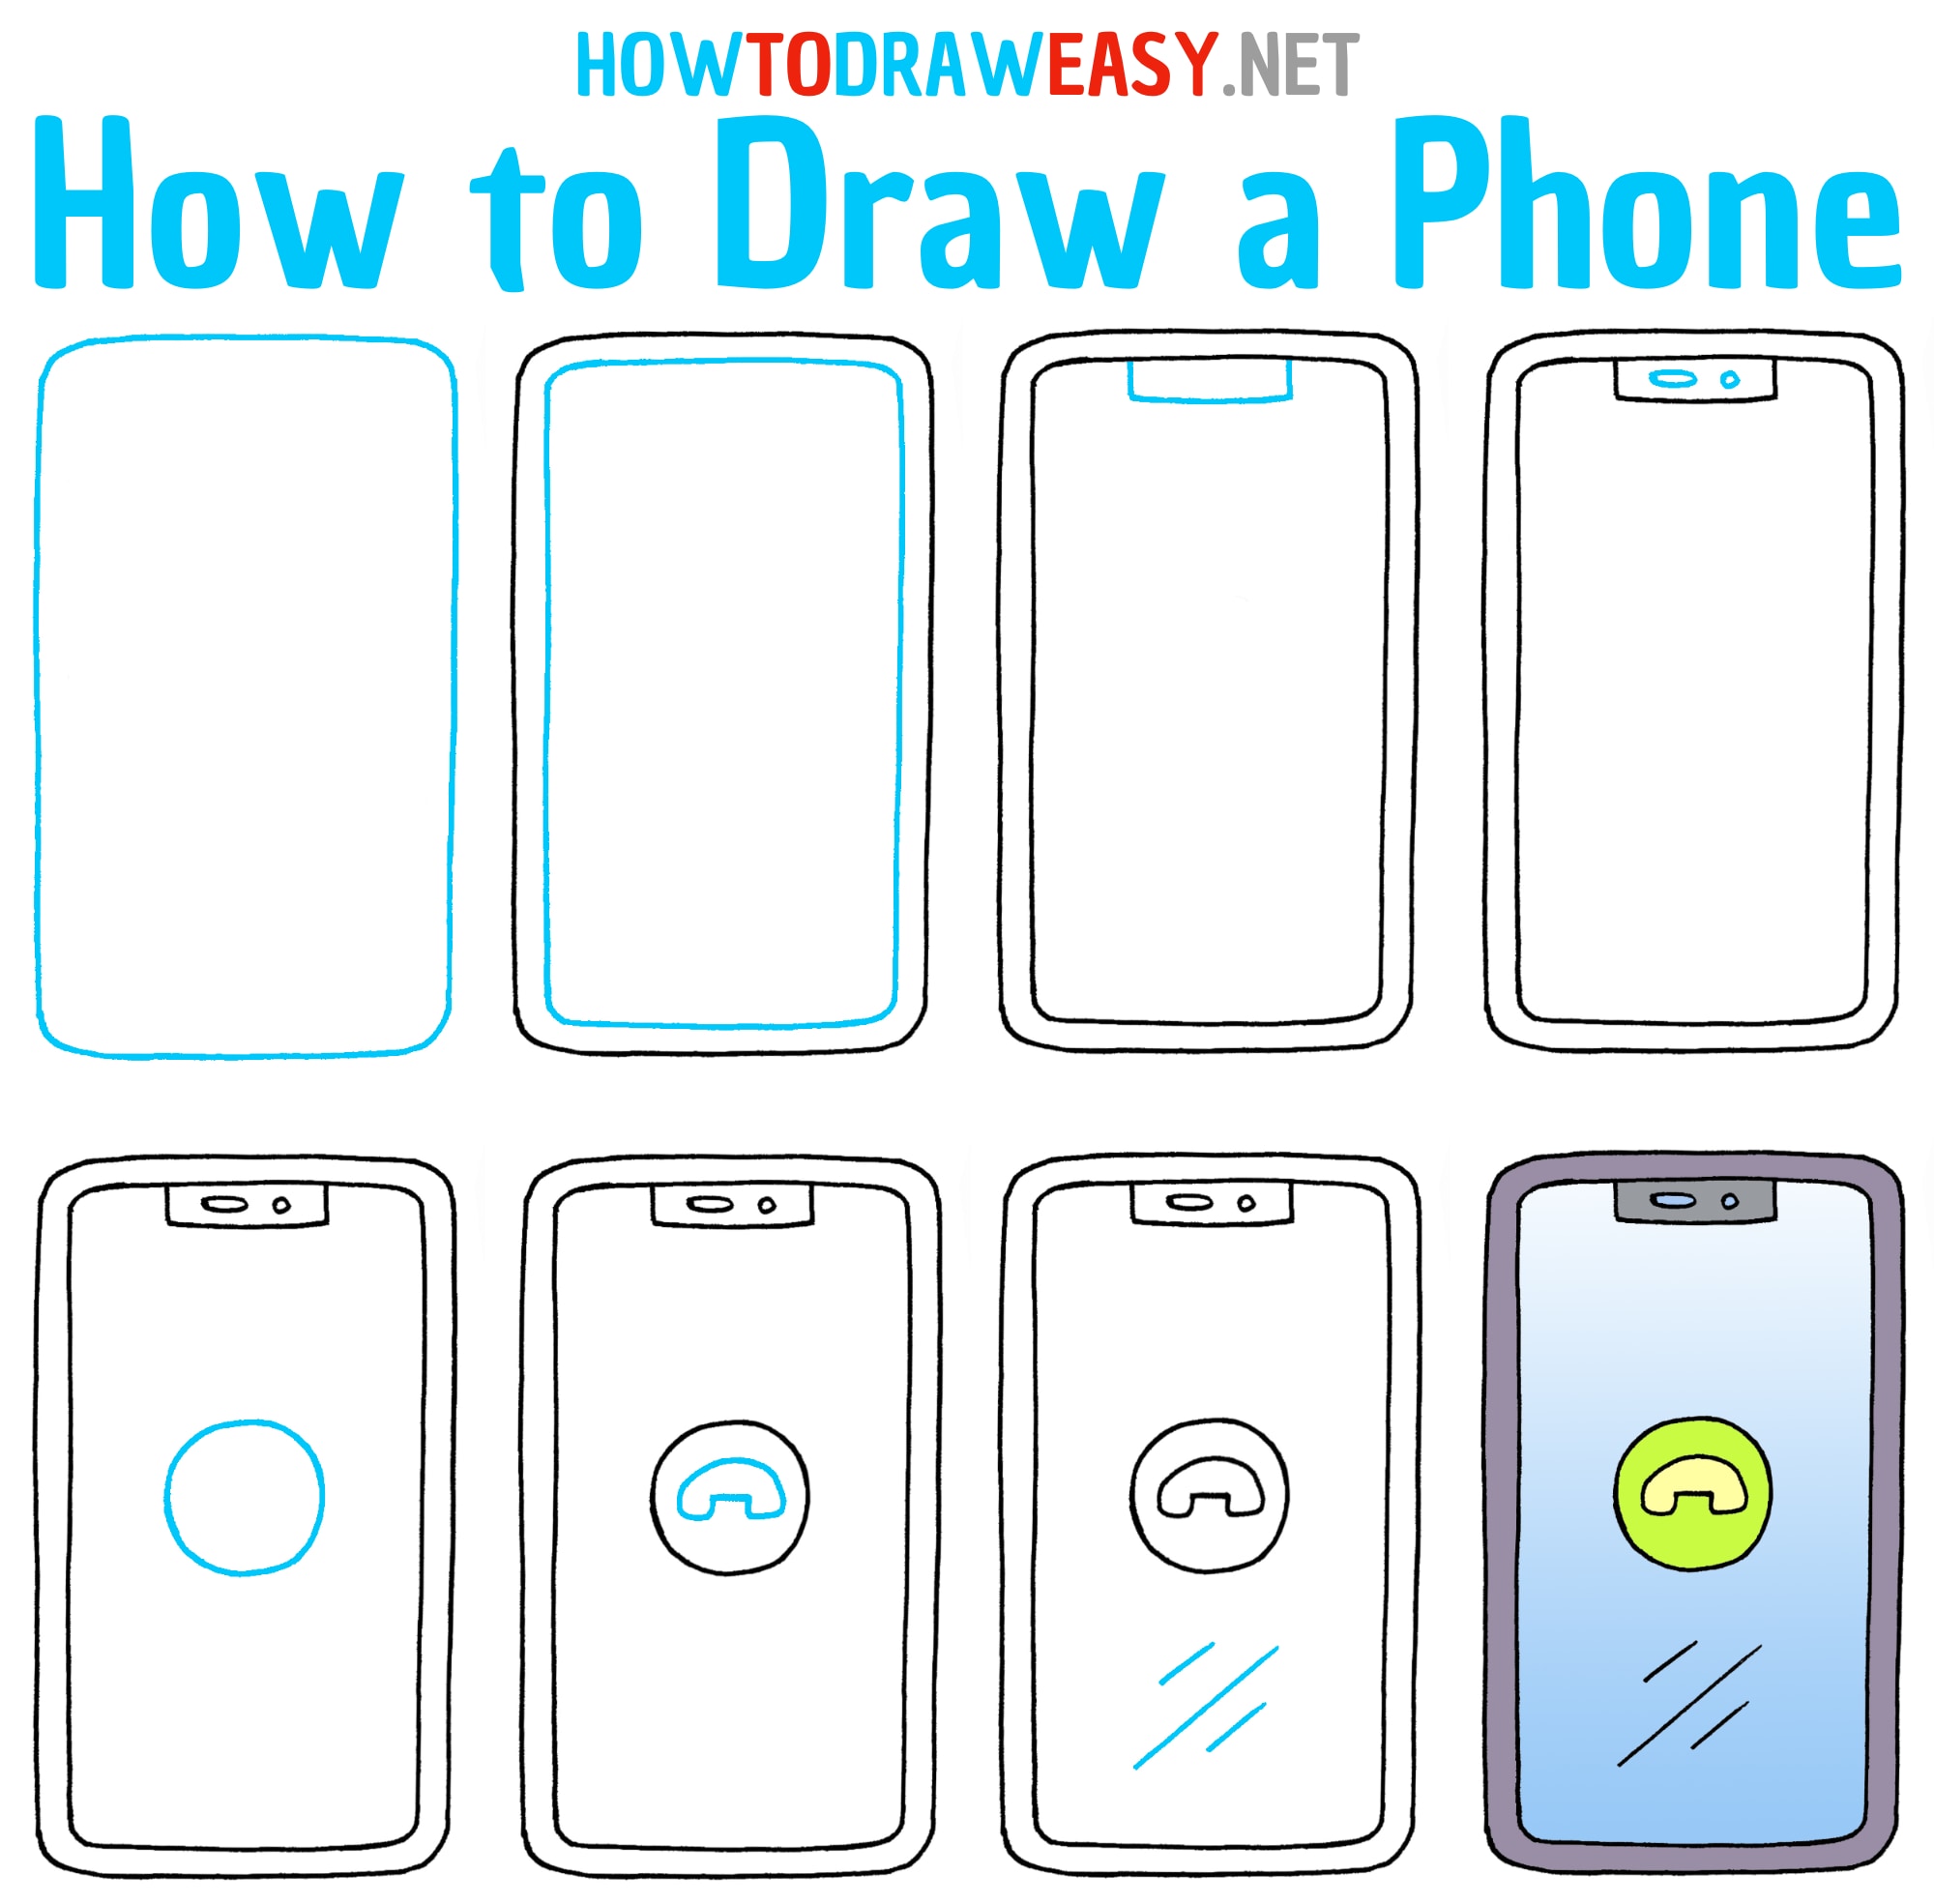
The First Shapes of Your Phone Drawing
To kick things off, you'll want to put down the main outline of the phone. For most modern phones, this means sketching out a big rectangle. You'll want to use straight lines for this, so a ruler can be helpful here if you want things to be very neat, or you can practice making them freehand, which is also a good skill to develop. This large rectangle will be the overall shape of your mobile device. Once you have that down, you’ve got the basic form, and everything else will fit inside or on top of this initial boundary. It’s the skeleton of your phone drawing, basically, giving you a solid base to build upon.
Adding Detail to Your Phone Drawing
After you have the big rectangle for the outer shape, the next step in your phone drawing is to put in the screen. This is another rectangle, but it will be slightly smaller and placed inside your first one, leaving a little bit of a border around the edges, like the bezel of a real phone. You might also want to round off the corners of both the outer rectangle and the screen rectangle a little bit, as most phones have slightly curved edges rather than sharp points. This small touch can make your drawing look a lot more like an actual phone, you know, adding that bit of realism. It’s these early additions that really start to make your sketch take shape.
What Simple Steps Help with Phone Drawing?
Once you have the main body and screen outlined, you can move on to the smaller, but still important, parts that make a phone recognizable. These steps are pretty easy to follow, and they add character to your drawing. It’s about breaking down the object into manageable bits, so you're not trying to draw everything at once. This way, each part of your phone drawing gets the attention it needs without overwhelming you. It’s a bit like putting together a puzzle, where each piece contributes to the final picture, and you just take it one piece at a time.
Creating the Screen for Your Phone Drawing
We've already talked about sketching the main screen area within your phone's outline. Now, to make it look even more like a screen, you can add a few more elements inside it. Sometimes, people like to draw a small, thin rectangle at the very top of the screen to represent the speaker, or perhaps a tiny circle for the front-facing camera. These aren't always necessary, but they can add a nice touch of realism. You could also just leave the screen blank if you prefer, or perhaps put a simple icon or two inside it to suggest a display. It's really up to you how much detail you want to include in your phone drawing at this stage.
Making the Speaker for Your Phone Drawing
The speaker, that small part at the top of the phone where sound comes out, is a good detail to add to your phone drawing. To create this, you can start by drawing a slightly angled oval shape on the upper part of your paper, right where the speaker would be on a real phone. This simple shape will give the impression of the speaker opening. You don't need to make it super detailed; just a basic outline is usually enough to convey what it is. This small addition helps to make your phone drawing look more complete and recognizable, you know, giving it that little extra touch of authenticity.
Can Anyone Learn Phone Drawing?
Absolutely, yes! The beauty of learning how to make a picture of a phone is that it's a very accessible activity for just about anyone, regardless of their past experience with art. You don't need to have a natural gift for drawing or years of practice. It's more about following some simple steps and being willing to give it a try. The skills you pick up are pretty basic, but they're also very foundational for all sorts of other artistic pursuits. So, whether you're a complete newcomer or someone who's been doodling for a while, you can definitely pick up the basics of phone drawing and create something you're proud of.
Tips for Phone Drawing for Newcomers
If you're new to making pictures, here are a few things that might help with your phone drawing. First, don't press too hard with your pencil when you're sketching out the initial shapes. Light lines are easier to erase if you make a mistake, which, you know, happens to everyone. Second, take your time. There's no rush to finish your picture quickly. Focus on getting each step right before moving on to the next. And third, don't be afraid to use a ruler for those straight lines. It's a tool, and it's there to help you. Practice is key, and the more you try, the better your phone drawing will become, honestly.
Advanced Ideas for Phone Drawing
For those who have a bit more experience, or once you feel comfortable with the basics of phone drawing, you can start exploring more advanced ideas. This might involve adding more realistic textures to the phone's surface, like the slight sheen of glass or the subtle texture of a case. You could also try drawing phones from different angles, not just the front view, which brings in the idea of perspective. Experimenting with light and shadow to give your phone drawing a three-dimensional look is another great way to push your skills further. It's all about trying new things and seeing what you can create, you know, really pushing the boundaries of your phone drawing.
Exploring Different Phone Drawing Styles
Once you get the hang of the basic shapes, you'll find there are many ways to approach your phone drawing. It's not just about copying a picture exactly; it's about making it your own. You can try drawing different kinds of phones, from the very newest models, like a recent iPhone or Samsung Galaxy, to older, simpler cell phones. Each one has its own distinct look, which offers a fresh challenge. This variety keeps things interesting and helps you practice different shapes and details. It’s pretty cool how many different looks you can achieve, honestly, just by playing with the general shape and a few key features.
Front View Phone Drawing
The front view is probably the easiest way to start your phone drawing. This is where you see the phone flat on, looking directly at the screen. You begin with that big rectangle, then the smaller rectangle for the screen inside it, and maybe a little oval for the speaker at the top. This view is great for getting those straight lines and basic proportions down. It's a good way to get comfortable with the overall shape before you try anything more complex. Many tutorials, including some of the easy drawing instructions we've talked about, focus on this straightforward approach for a phone drawing, because it’s just so approachable.
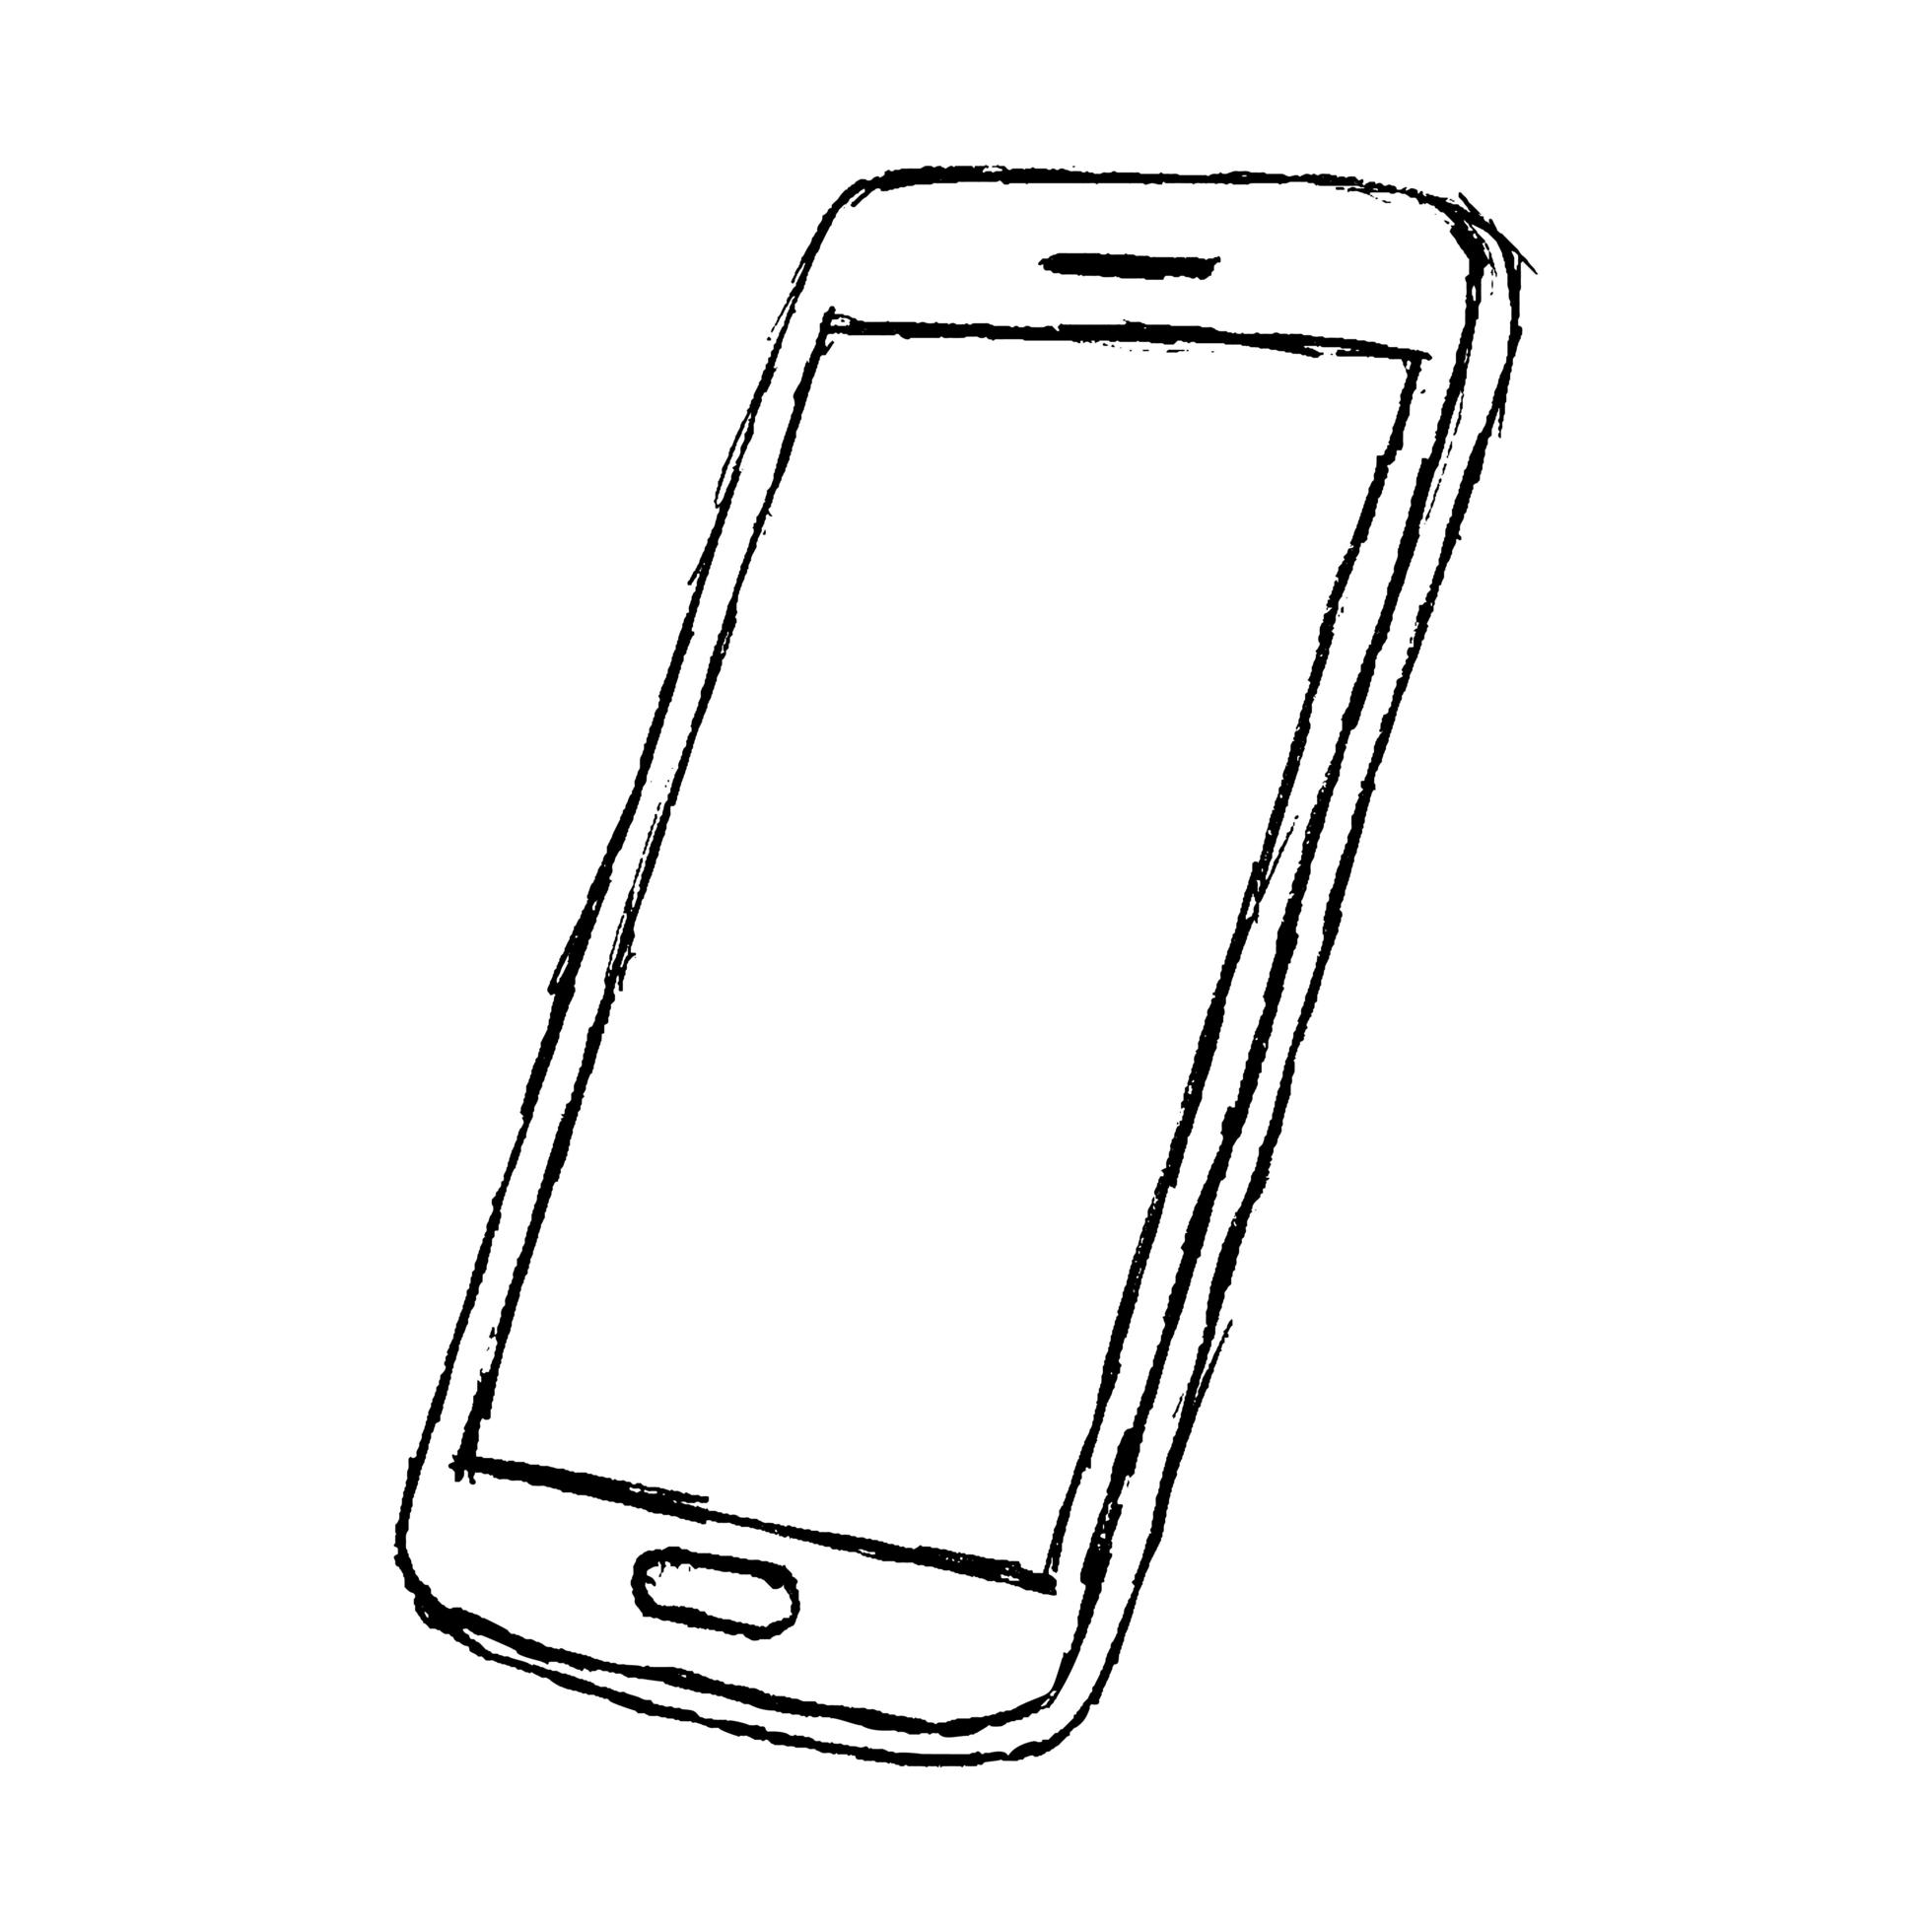
Perspective Phone Drawing
Drawing a phone in perspective means making it look like it's angled, or like it's moving away from you into the distance, giving it a sense of depth. This can sound a bit tricky, but it's actually a great way for beginners to practice making things look three-dimensional. You still start with basic shapes, but instead of just one flat rectangle, you might start with a box-like form that seems to recede. There are some simple steps that show you how to do this, often in six stages, focusing on the general shape and how it appears from different angles. It's a really good skill to pick up for any kind of picture-making, you know, not just for a phone drawing.
Cute Phone Drawing Ideas
If you're looking for something a little different, you can also try making a "cute" phone drawing. This often involves making the phone's features a bit softer, maybe adding big, friendly eyes to the screen, or giving it little arms and legs. It's about taking the basic shape of a phone and giving it a playful, cartoon-like feel. This style is pretty fun and lets you be really creative with your design. It's a nice change from trying to make something look exactly real, and it’s a good way to just enjoy the process of making a picture, you know, letting your imagination run a little wild with your phone drawing.
How Can You Make Your Phone Drawing Look Real?
Making your phone drawing look like a real object that you could pick up involves more than just getting the shapes right. It’s about giving it a sense of form and texture, making it appear as if light is hitting it. These techniques add depth and visual interest, taking your picture from a flat outline to something that seems to pop off the page. It's a bit like adding the finishing touches to a sculpture, where every small adjustment makes a big difference to the overall feel. You know, these steps really bring your phone drawing to life, giving it that polished look.
Shading and Highlighting in Phone Drawing
To make your phone drawing look more like a real object, you'll want to think about where the light is coming from and how it hits the phone. Shading means making parts of the drawing darker to show where shadows would fall, like on the sides or under buttons. Highlighting is the opposite; it's making parts brighter to show where the light is shining directly, perhaps a bright spot on the screen or the edge of the phone's body. These techniques give your phone drawing a sense of volume and make it look three-dimensional. It's a pretty effective way to add depth, you know, making it seem solid.
Adding Small Features to Your Phone Drawing
Beyond the main shapes, adding small, specific features can really make your phone drawing stand out. Think about the tiny details on a real phone: the power button on the side, the volume controls, the charging port at the bottom, or even the small holes for the microphone. You don't have to include every single one, but picking a few key ones can add a lot of realism. These little touches show that you've paid close attention to the object you're drawing, and they help to make your phone drawing look more complete and believable. It's these tiny elements that often make the biggest difference, honestly.
Your Phone Drawing Practice - What's Next?
So, you've learned about the steps for making a phone drawing, from the first big rectangle to adding those small, realistic touches. The most important thing now is to just keep trying. Making pictures is a skill that gets better with practice, like anything else. Don't worry if your first few attempts aren't exactly what you hoped for; every line you put down is a step toward getting better. It's about enjoying the process and seeing how much you can improve over time. You know, every artist starts somewhere, and every drawing is a chance to learn something new about your craft.
Trying Out Various Phone Drawing Types
As you get more comfortable, try making pictures of different kinds of phones. You could try sketching a very old mobile phone with a keypad, or perhaps a brand new smartphone with its sleek, button-less design. Each type will present its own set of shapes and details to figure out. This variety helps you practice different aspects of drawing, like getting curves just right or drawing very straight lines. It’s a good way to keep your phone drawing sessions fresh and exciting, you know, always having something new to try your hand at.
Continuing Your Phone Drawing Journey
Remember that making pictures should be a fun and satisfying experience. There are lots of simple, easy ways to draw a phone, and you can definitely make one that looks great if you just follow the steps. Many resources, including video tutorials and illustrated examples, are available to guide you. The key is to just pick up a pencil and paper and get started. Keep practicing, keep experimenting, and you'll find yourself creating some really nice phone drawings, which is pretty cool, you know, seeing your own progress over time.